Building a Kit Home is designed to save you money and any tasks you can do, will go towards saving you money. This article is to show you how to install windows in a Kit Home. These savings can be used in other areas such as landscaping or upgrading kitchen applicances.
Be sure to follow our youtube page for tips about building a Kit Home, some of our recent projects and our new home designs.
Step 1
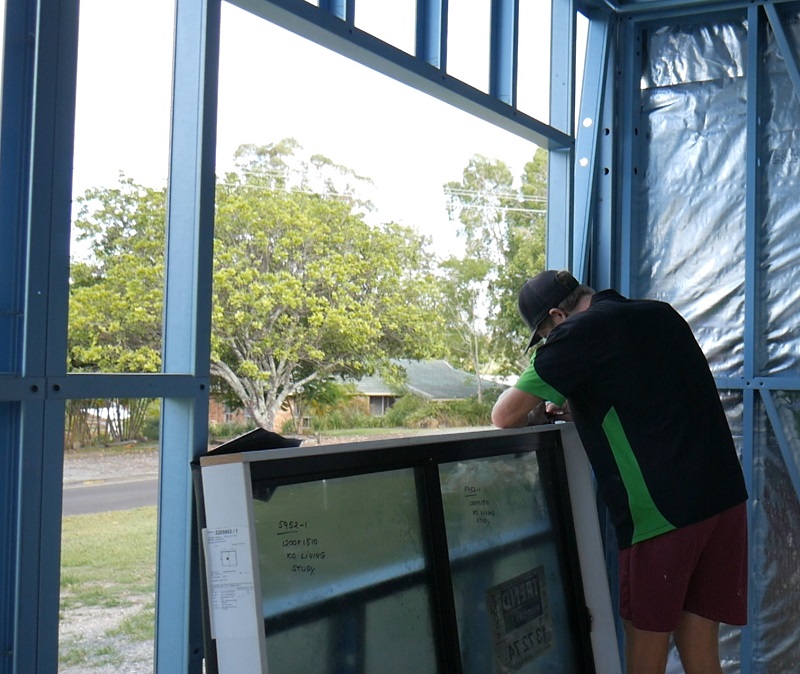
First things first is to carefully position the window near the opening of the frame. Using pliers, remove all staples from the plastic flashings located on reveals.

Step 2
If installing a sliding window, remove the sash window to allow easier handling and put in a secure location.
Step 3
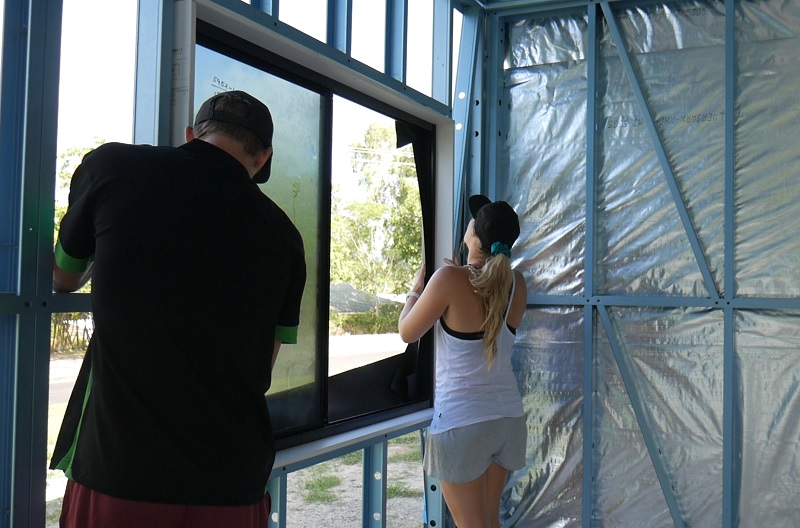
Lift window into position with an even space in between the window opening. Make sure you leave 10mm from the inside for when the gyprock is installed it will sit flush against the reveal.

Step 4
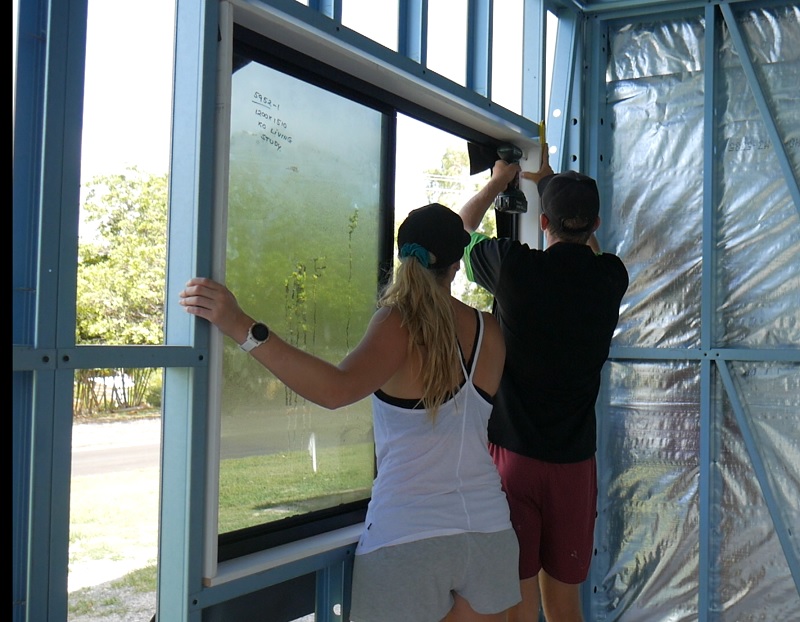
Using windows packers between the frame and the reveal, make sure the window is level and square. Using the correct screws suited for Steel Frame or Timber, start screwing the reveal from the top into the frame.
Pending on the size of the window, put an amount of screws to ensure the frame is sturdy.
TIP: Only screw the sides and bottom of the window reveal, ensure you DO NOT screw into the top of the reveal.

Step 5
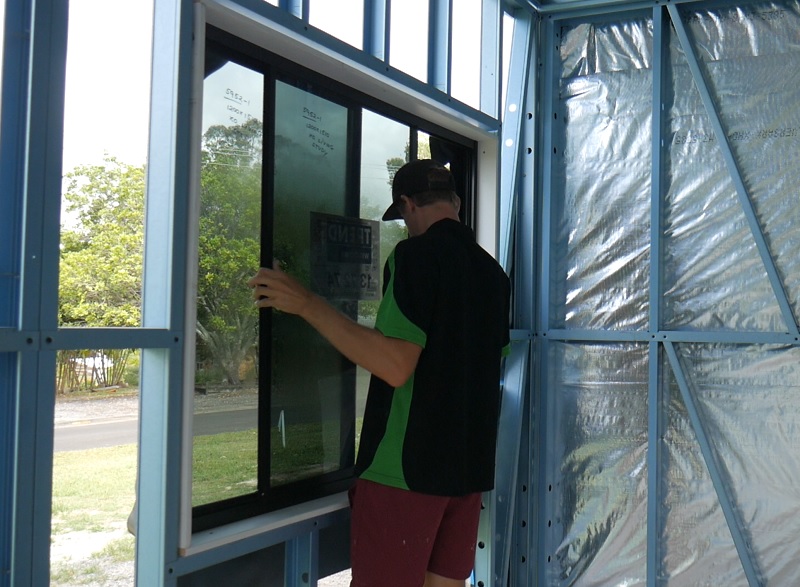
Oce the window is secured into position and you have made sure it is level and square. Insert the sash window, ensuring it slides smoothly and can lock into place.

